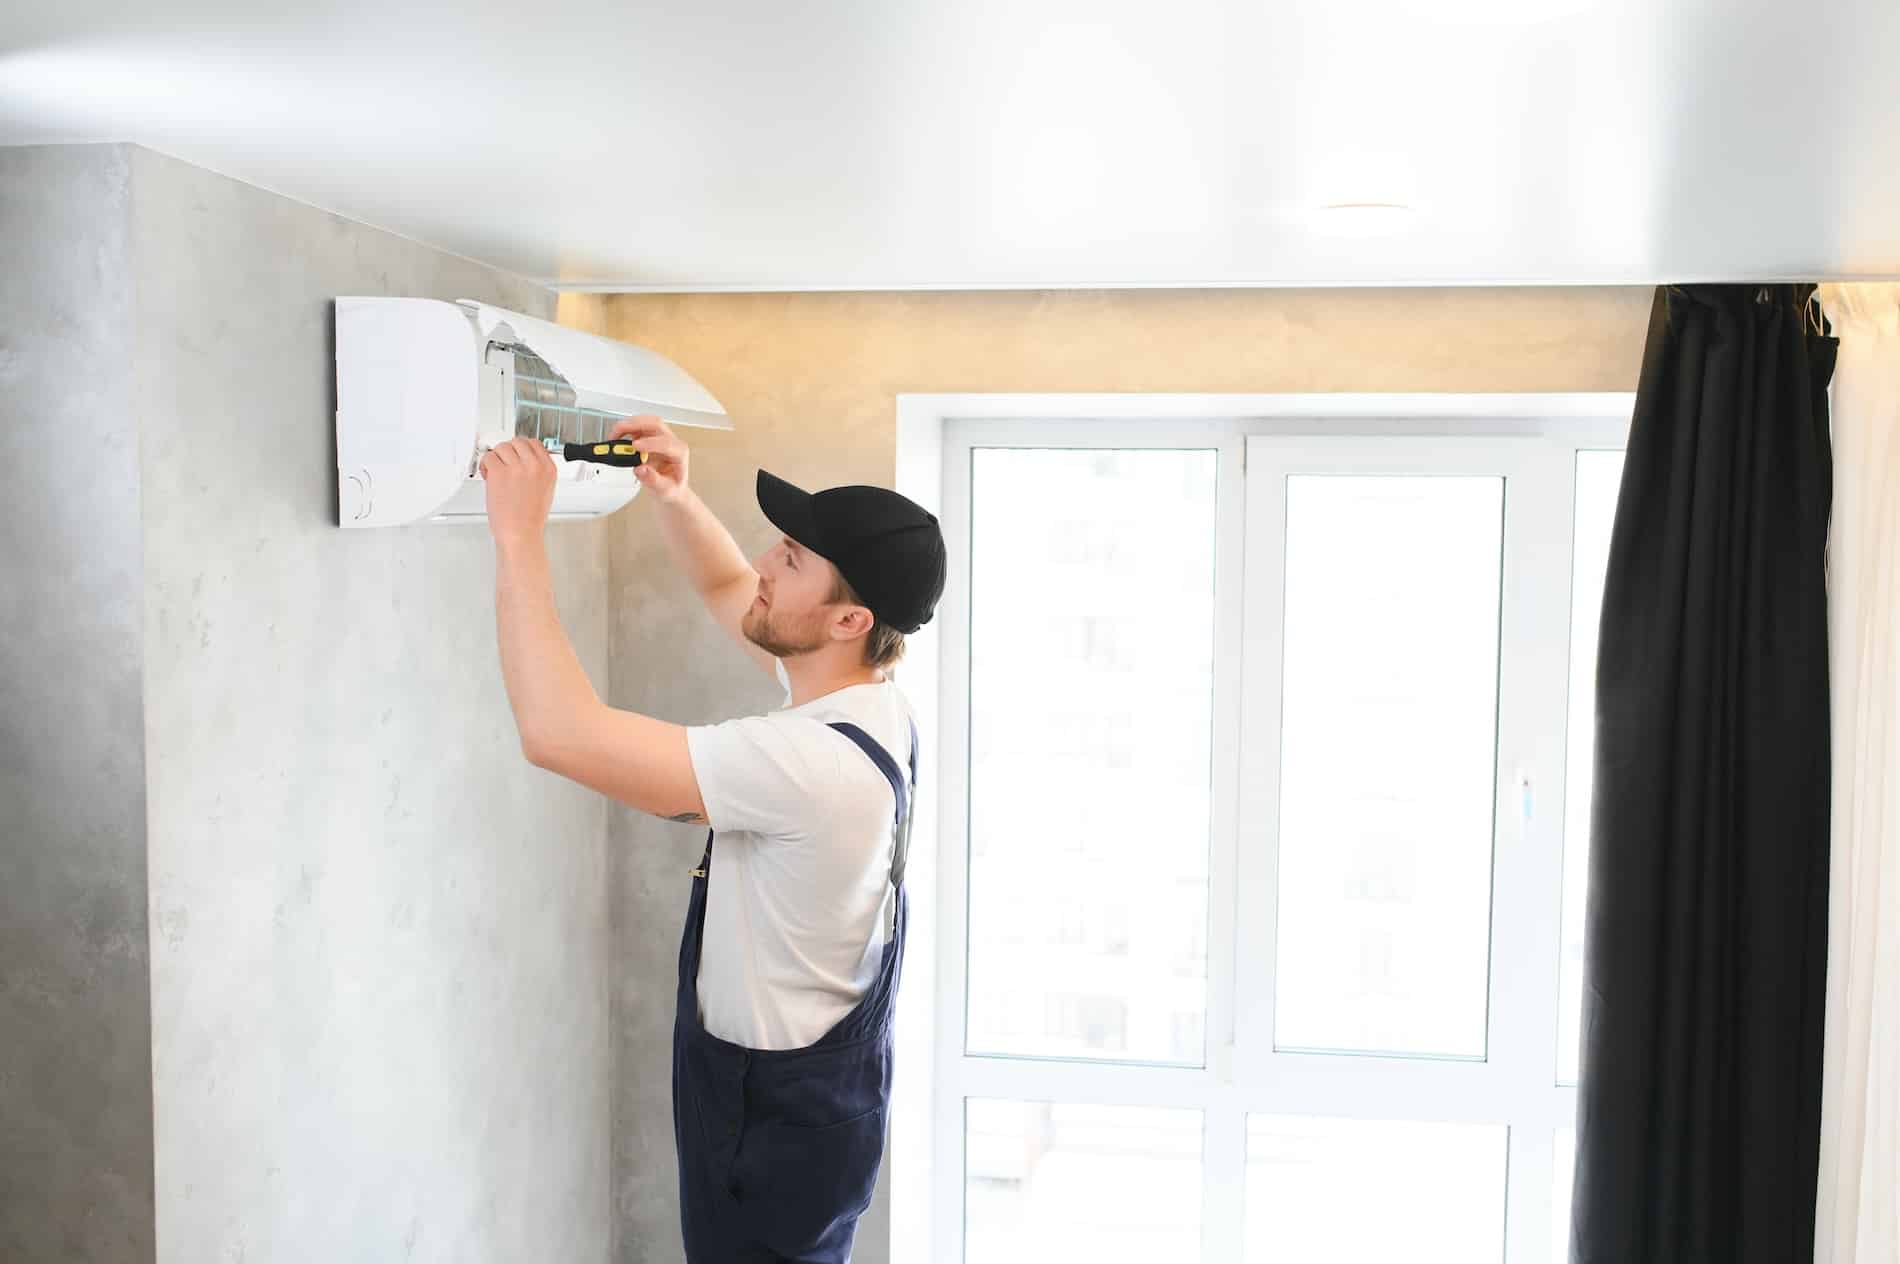
When it comes to keeping your home comfortable year-round, air duct installation is a big deal. Whether you’re upgrading an old HVAC system or starting from scratch, proper duct installation helps deliver cool air in summer and cozy warmth in winter—efficiently and evenly. Your duct system works like the lungs of your home. If your ductwork is poorly installed or leaking, your air conditioner and air handler have to work overtime, driving up energy costs and reducing comfort.
The best part? With the right tools and guidance, you can do it yourself. We’ll break down everything—from choosing materials like sheet metal duct or metal ducting, to how to install air ducts step-by-step. Whether you’re planning full HVAC duct installation or just adding a run, we’ve got you covered with pro tips, trusted links, and smart advice.
Ready to breathe easier and feel that fresh ❄️💨 breeze? Let’s get started and let your ducts do the work.
Why Proper Air Duct Installation Matters?
A solid duct system supports your entire HVAC system. Poorly installed or leaky ductwork forces your air conditioner to work overtime, raising your bills. Great ducting gives your air handler, return air path, and supply plenum the balance they need for efficient operation.
According to Energy.gov, homes can lose 20–30% of conditioned air through poorly sealed ducts. That’s wasted energy and comfort!
💡Choosing the Right Ducting Materials
When shopping for materials, you’ll choose between:
- Sheet metal duct made from galvanized steel—long-lasting and reliable.
- Metal ducting that holds up to heat and cool cycles.
- Flexible ductwork, best for tight areas but not as durable.
How to Install Ducting Like a Pro
So you’re ready to tackle air duct installation—great choice! Whether it’s a full HVAC duct installation or just one supply ducting run, this guide breaks down how to install ducting like a pro. With the right tools and a solid plan, you can do it yourself and boost your home’s comfort and energy efficiency.
Plan Your Duct System Layout
Before you cut anything, get your layout right. Use Manual D from ACCA to size your ducts properly and ensure good airflow.
Tips:
- Map out your duct system to minimize turns and long runs.
- Choose the best path for airflow from the air handler to each room.
- Plan both supply and return air ducts for balance.
Measure and Cut Duct Materials
Now it’s time to measure and cut your sheet metal duct or metal ducting. Precision here prevents wasted materials and poor airflow.
Essentials:
- Use a tape measure, marker, and tin snips or metal saw.
- Wear gloves—ducts can be sharp.
- Pre-cut all straight runs and elbows before you begin the install.
Begin at the Air Handler
Start your duct installation at the air handler and work outward toward each vent. This ensures proper flow from the heart of your HVAC system.
Installation steps:
- Connect ductwork to the supply plenum and branch out.
- Use hangers, brackets, or strapping for support.
- Avoid sharp bends or crushed flex ducts.
Seal All Joints Like a Pro
Don’t skip this! Leaky ducts kill efficiency and cost you money. Seal every joint for maximum performance.
Seal with:
- Mastic sealant for long-lasting coverage.
- UL 181 foil tape—not regular duct tape.
- A brush or gloved hand to spread mastic evenly.
Add a Proper Return Air Path
Your HVAC system needs a clear return air route. Without it, you’ll get weak airflow and poor temperature control.
Return air tips:
- Install return vents in each room or hallway.
- Make sure return ducts are large enough to match supply flow.
- Keep return paths free of obstructions.
Test, Label, and Insulate
Once your ductwork is sealed, power on your air conditioner or furnace and test the airflow.
Final steps:
- Use your hand or smoke stick to detect leaks.
- Label each duct run for future maintenance.
- Insulate all exposed sheet metal duct in unconditioned spaces.
With this guide, you now know how to install air ducts confidently. Whether you’re a DIY warrior or just trying out do it yourself duct work, this project can seriously improve your home HVAC efficiency and comfort. 💨❄️
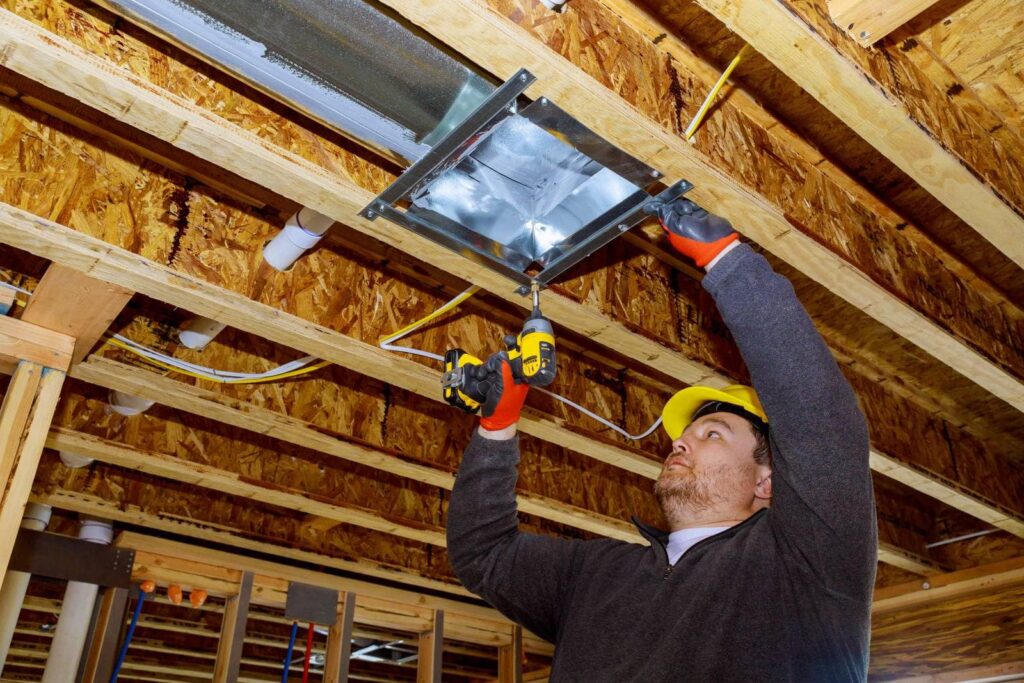
DIY Ducting Tips for Homeowners

Credit: midwestductcleaning.com
Thinking about doing your own air duct installation? Good news—you can totally handle DIY ducting with the right tools, a solid plan, and a bit of patience. Whether you’re adding a vent, replacing old ducts, or tackling full HVAC ductwork, these tips will help you do it yourself without stress.
Here’s how to install ducting like a smart homeowner, not a frustrated weekend warrior:
🔧 Use the Right Tools from the Start
Before you begin, make sure you have everything ready. The right tools make a huge difference in the quality of your duct install.
Must-haves:
- Sheet metal snips (for cutting metal ducting)
- Heavy-duty gloves (sharp edges are no joke)
- Tape measure and marker
- Power drill with sheet metal screws
- Mastic sealant or UL 181 foil tape
💨 Seal Every Connection—No Exceptions
One of the biggest mistakes in DIY duct work is skipping proper sealing. Leaks waste energy and reduce airflow, making your HVAC system work harder.
Seal smart:
- Apply mastic generously to all seams and joints
- Use foil tape (not regular duct tape!) for a quick seal
- Focus especially on areas around elbows and the air handler
🛠️ Use Elbows and Dampers Wisely
Elbows help navigate turns, and dampers control airflow—but using them the wrong way can restrict air movement. Plan each part of your duct system carefully.
Tips:
- Keep bends smooth and avoid tight turns
- Place dampers where you might want to adjust airflow in the future
- Make sure every room gets balanced cool air and heat
With these tips, you’re well on your way to a successful do it yourself duct work project. Just remember—good ductwork is about planning, precision, and airtight sealing. Whether you’re connecting to an air conditioner, air handler, or extending your home HVAC system, a solid duct installation makes all the difference.
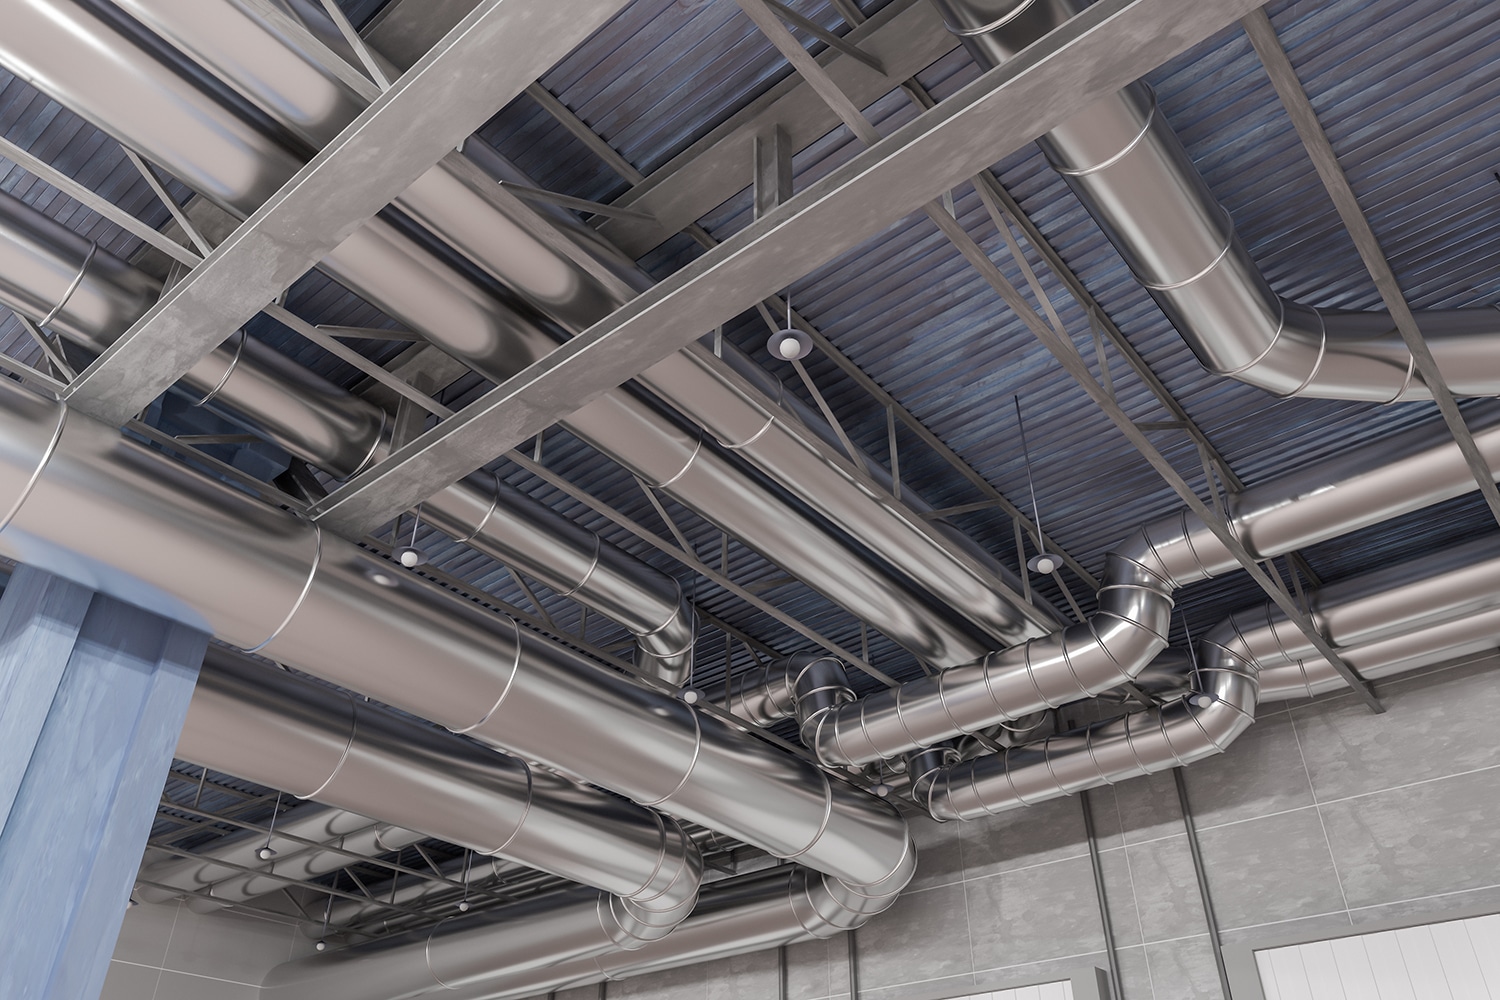
Best Practices for Good Ductwork
Credit: atticprosinc.com
Creating good ductwork involves more than just connecting pipes. Here’s how to level up your duct installation:
- Keep runs as straight and short as possible.
- Avoid kinks and sharp bends.
- Insulate metal ducting to reduce heat loss.
- Balance airflow with dampers or zoned controls.
- Always test for leaks after installation.
Proper HVAC duct design means smoother operation and longer life for your air conditioner and central air system.
When to Hire an HVAC Professional?
Not all duct installation projects are DIY-friendly. If your project involves load calculations, multiple zones, or heavy sheet metal duct, consider hiring a pro. If you’re thinking of using the right resources, you can definitely contact our JLM services for your air duct installation, without any second thoughts! Try the JLM ductwork services right now.
Wrap Up
As we come towards the end, tackling air duct installation on your own can be incredibly rewarding—and efficient. With the right approach, you can install ductwork, improve your air conditioning, and maximize the comfort of your home. Whether you choose do it yourself duct work or bring in the pros, the goal is the same: energy-efficient, balanced HVAC ductwork that delivers real results. So grab your tools, review the links above, and let your ducts do the work—while you enjoy the cool air and savings.
BREATHE EASY WITH A PROPER AIRFLOW! ❄️🌀