Your HVAC system accounts for up to 50% of your summer electric bill in Arizona. The fastest ways to save: replace your air filter monthly, seal duct leaks, upgrade to a programmable thermostat, and schedule a professional tune-up before peak heat. A well-maintained system runs 15–20% more efficiently and cuts monthly cooling costs by $50–100, according to ENERGY STAR research.
If you live in Gilbert, Queen Creek, Apache Junction, or anywhere in the East Valley, you know what June through September feels like. Your AC runs 12 hours a day. Your electric bill hits $400. Your thermostat is set to 78°F, but the house never feels comfortable.
The good news: most of that waste is fixable without replacing your entire system. At JLM Air Conditioning & Heating, we built our business on transparency. We’ll show you what’s wasting energy right now, what you can fix yourself, and when it’s actually time to call a professional. Let’s start with why your bill is so high and what you can do about it today.
Why Your AC Bill Spikes in Arizona Summers (and What’s Fixable)
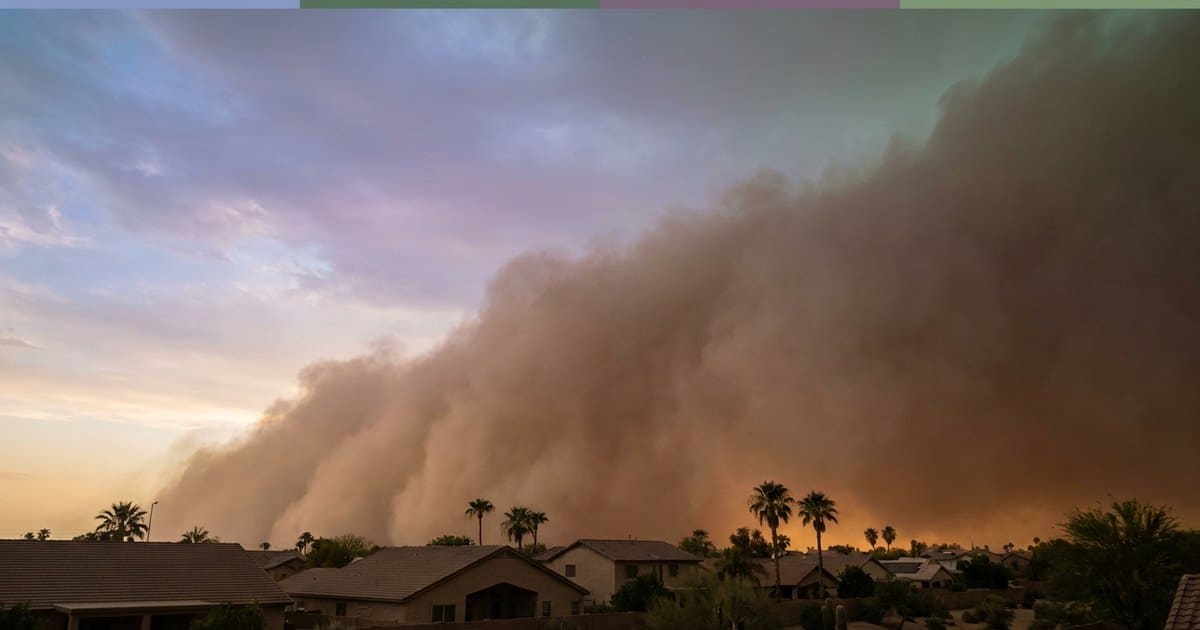
Arizona isn’t a normal cooling market. When outdoor temperatures hit 115°F in July, your AC works three times harder than it would in a 90°F climate. The physics are brutal: every degree you cool your home requires exponentially more energy when the outdoor temperature is extreme. Add our dust storms, 24-hour heat retention in block construction, and aging ductwork in pre-2000 homes, and you have a perfect recipe for energy waste.
According to the U.S. Department of Energy, residential cooling accounts for roughly 50% of summer electricity costs in hot climates. In the East Valley, that percentage climbs higher because your system never shuts off between June and September. If your monthly bill is $400–500 during peak season, $200–250 of that is cooling alone.
But not all of that cost is unavoidable. A significant portion comes from fixable inefficiencies. Dirty filters force your blower motor to work 40% harder. Duct leaks in your attic waste 20–30% of the cold air your system produces. Debris-clogged condenser coils make your compressor strain. Poor thermostat settings mean you’re cooling an empty house for eight hours while you’re at work.
The difference between a well-maintained system and a neglected one is 15–20% in operating efficiency. For a homeowner spending $400 per month on cooling, that’s $60–80 in monthly savings, or $500+ over a single summer. Most of those fixes cost under $50 and take less than an hour.
Here’s what matters: some problems are normal wear (refrigerant loss, failing capacitors, compressor fatigue) and require a technician. Others are maintenance issues you can handle yourself. Knowing the difference protects you from unnecessary repairs and helps you spend money where it actually improves comfort and efficiency. Let’s walk through the five most impactful fixes, starting with the simplest.
Replace Your Air Filter Every 30 Days (Not Every 90)
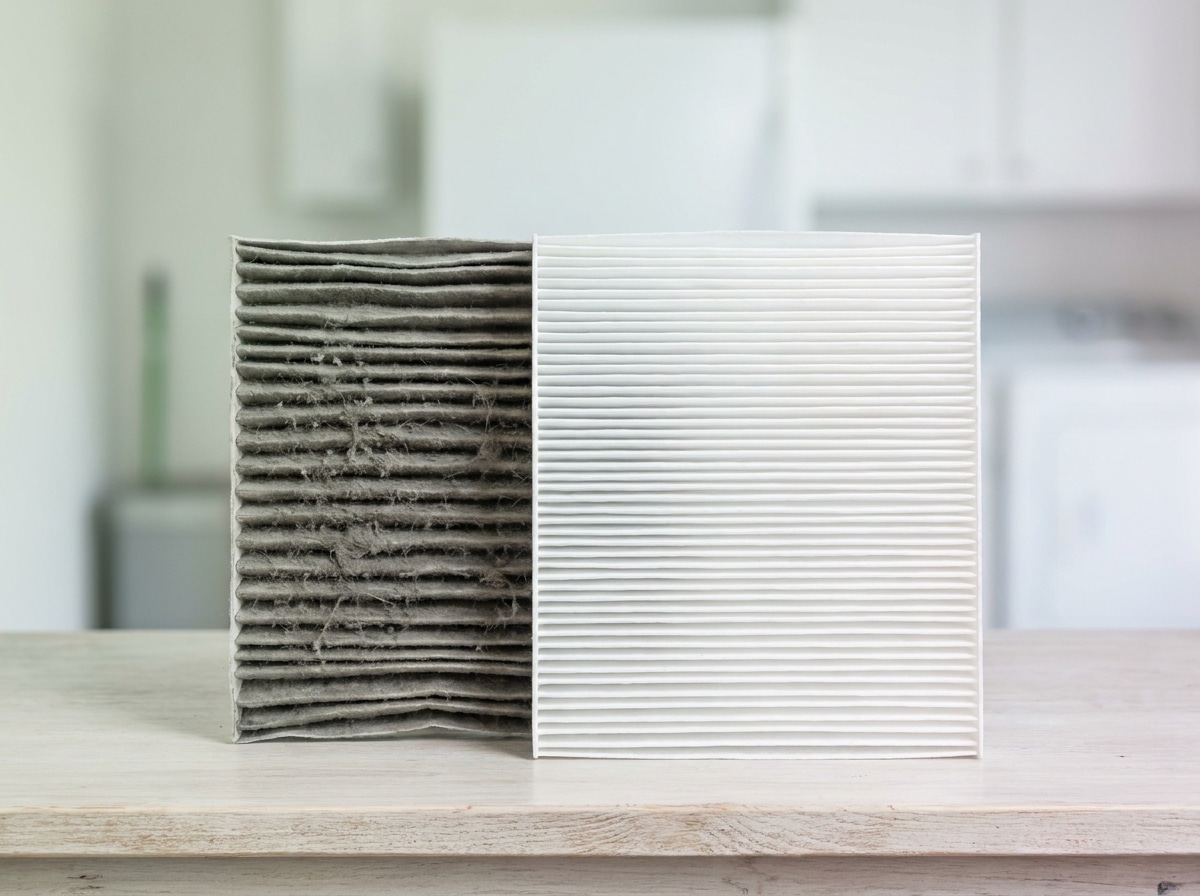
The single fastest way to cut energy waste costs $15 and takes five minutes. Your air filter protects your blower motor and evaporator coils from dust buildup. When it clogs, airflow drops, your system works harder, and efficiency plummets. Most filters are rated for 90 days, but that schedule assumes moderate dust levels. Arizona’s dust storms, construction activity, and desert winds clog filters in 30–45 days.
Research from Streamline Air shows that Arizona homes experience three times the particulate load of homes in humid climates. A filter that’s 60% clogged forces your blower motor to pull 40% more power to move the same volume of air. Over a single month, that waste adds $20–30 to your bill. Multiply that across a five-month cooling season, and a $15 filter saves $100+ in electricity alone.
Here’s how to do it right. First, find your return-air grille. It’s usually on a wall or ceiling in a central hallway or near your thermostat. Open the grille and pull out the existing filter. Note the size printed on the cardboard frame (typically 16×20×1 or 20×25×1). Buy a replacement with the same dimensions and a MERV rating between 8 and 11.
MERV 8 filters basic dust and pollen. MERV 11 catches finer particles but restricts airflow slightly, so only use it if your system can handle the pressure (check your manual or ask during your next tune-up). The ACCA filtration guide recommends checking your filter monthly during heavy-use seasons.
If it looks gray or clogged after 30 days, replace it. If it still looks clean, you can stretch it another two weeks. Never run your system without a filter. Even 24 hours of unfiltered operation coats your evaporator coils in dust and reduces efficiency by 10–15%.
When you install the new filter, make sure the airflow arrow points toward the ductwork (away from the room). A backwards filter doesn’t seal properly and allows dust to bypass the media. Filterbuy’s installation guide walks through proper seating to prevent air leaks around the frame. If you see light around the edges when you close the grille, adjust the filter position until it sits flush.
Set a phone reminder for the first of every month during cooling season. Buy filters in bulk (a six-pack costs $60–80 and lasts the whole summer). If you forget a month and your AC starts blowing warm air or cycling on and off, a clogged filter is the first thing to check before you panic. For guidance on when a maintenance issue requires professional attention, see our post on Why Summer in Mesa Demands Fast AC Repair.
Seal Duct Leaks in Your Attic and Crawl Spaces
If your ducts run through an unconditioned attic (most East Valley homes built before 2010), you’re losing 20–30% of your cooled air to leaks and poor insulation. The U.S. Department of Energy identifies duct sealing as one of the highest-ROI efficiency upgrades for homes in hot climates. A typical 1,800-square-foot home with leaky ducts wastes $80–120 per month in lost cooling.
Duct leaks happen at joints where sections connect, at register boots where ducts meet ceiling vents, and anywhere the flexible duct material has torn or separated. In a 130°F attic, even a small gap dumps cold air into unconditioned space before it reaches your living areas. Your system runs longer to compensate, driving up runtime and electricity cost.
Start by inspecting visible ductwork. Look for gaps at metal joints, separated flex-duct connectors, or torn insulation wrap. If you see light through a seam, air is escaping. Small gaps (under 1/4 inch) can be sealed with foil-backed HVAC tape (not fabric duct tape, which degrades in heat). Larger gaps or disconnected sections need mastic sealant, a paste that stays flexible and bonds to metal and flex-duct. Both materials are available at any hardware store for $10–20.
For accessible attic ducts, DIY sealing is manageable. Turn off your AC, climb into the attic with a flashlight, and inspect every joint and connection. Clean dust off the surface, apply mastic with a disposable brush, and let it cure for 24 hours. Wrap repaired sections with foil-backed insulation if the existing wrap is torn.
If your ducts run through a crawl space or behind walls, or if you find extensive damage, call a professional. JLM evaluates ductwork during every maintenance visit and can seal complex leaks safely.
One warning: sealing ducts in a poorly insulated attic helps, but it won’t fix an undersized or incorrectly designed duct system. If your home has always had hot spots or weak airflow in certain rooms, the problem may be layout, not leaks. A professional duct evaluation (typically $150–200) identifies whether sealing alone will solve the issue or if you need modifications.
Upgrade to a Programmable or Smart Thermostat
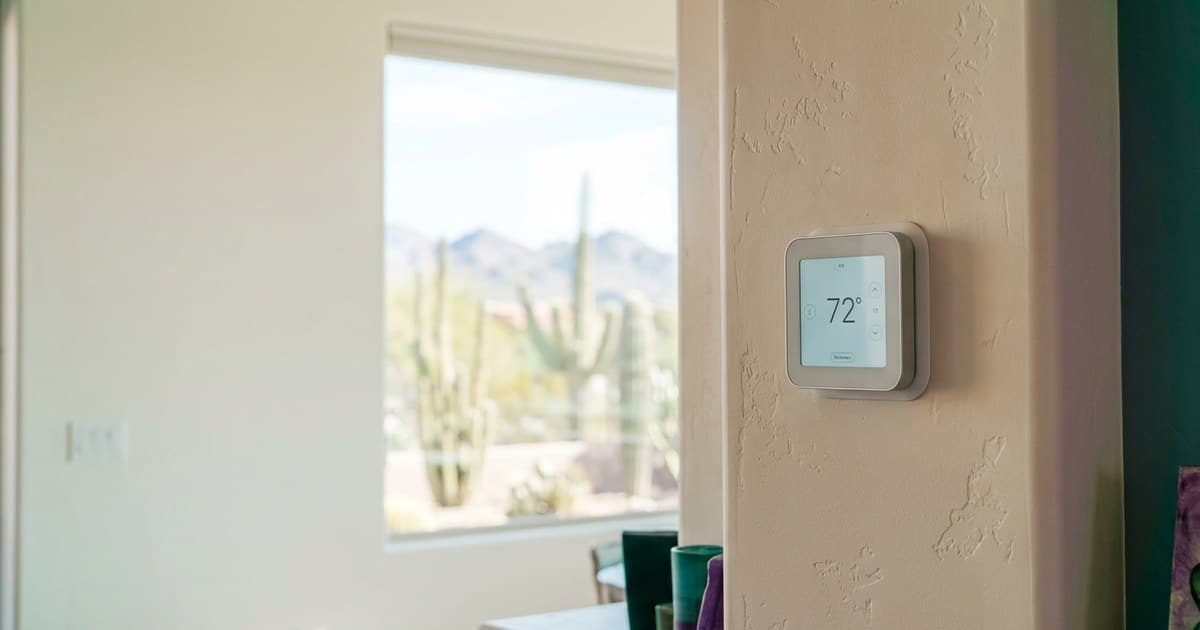
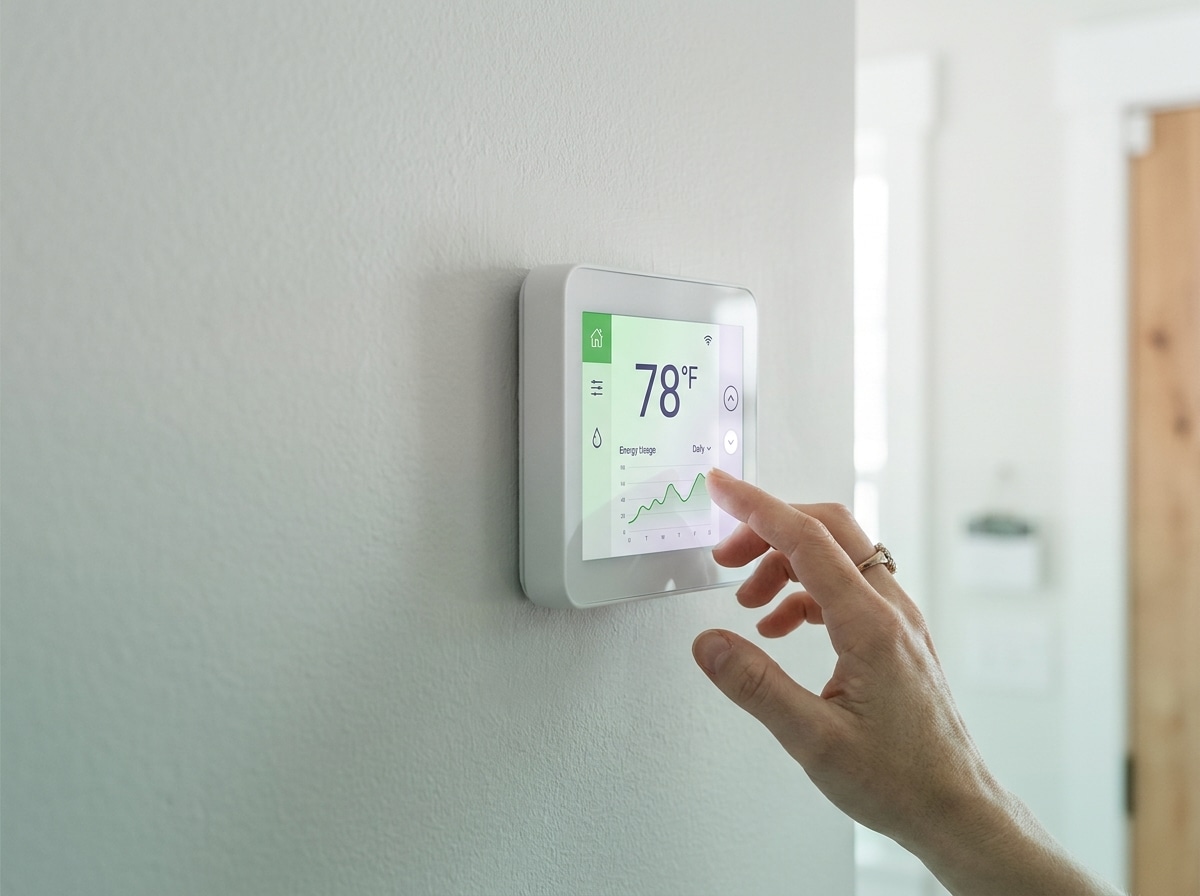
Your thermostat controls when your AC runs and how hard it works. If you’re still using a basic dial or single-program model, upgrading to a programmable or smart thermostat can cut cooling costs by 10–15%. ENERGY STAR data shows that homeowners who use setback schedules (raising the temperature 5–7°F when away) save $50–100 per summer.
A programmable thermostat costs $80–150 and lets you set different temperatures for different times of day. Program it to raise the temperature to 82°F at 8 a.m. when you leave for work, drop it back to 78°F at 5 p.m. before you return, and raise it again to 80°F overnight when you’re asleep under a fan. Each degree you raise the thermostat reduces cooling load by 3–5%. Over a five-month season, those small adjustments add up to $75–100 in savings.
Smart thermostats (Nest, Ecobee, Honeywell Home) cost $200–250 but add features like remote control via smartphone app, occupancy sensing, and integration with whole-home automation. Some models learn your schedule automatically and adjust setpoints without manual programming. If you have a variable-speed AC or a multi-zone system, a smart thermostat optimizes runtime and airflow better than a basic programmable model.
Before buying, check compatibility. Most thermostats work with standard 24-volt systems (the majority of residential AC units), but mini splits, heat pumps, and dual-fuel systems may need specific models. Your existing thermostat should have a label on the back listing wire terminals (R, C, Y, G, W). Match those to the new thermostat’s wiring diagram, or hire an HVAC tech to install it if you’re unsure. Incorrect wiring can damage your system.
Installation takes 20–30 minutes. Turn off power at the breaker, remove the old thermostat, label each wire with masking tape (note which terminal it was connected to), disconnect the wires, mount the new base plate, reconnect the wires to the matching terminals, attach the display, and restore power. Follow the on-screen setup to configure your schedule.
For homes that need zoned cooling or supplemental systems, our guide on How Mini Split Installation Works from Start to Finish explains how ductless systems pair with smart thermostats.
One caution: a programmable thermostat only saves money if you actually program it. If you override the schedule daily or leave it in “hold” mode all summer, you won’t see savings. Set it once at the start of the season, adjust only when your routine changes, and let it run automatically.
Clean Your Outdoor Condenser Coils and Clear Debris
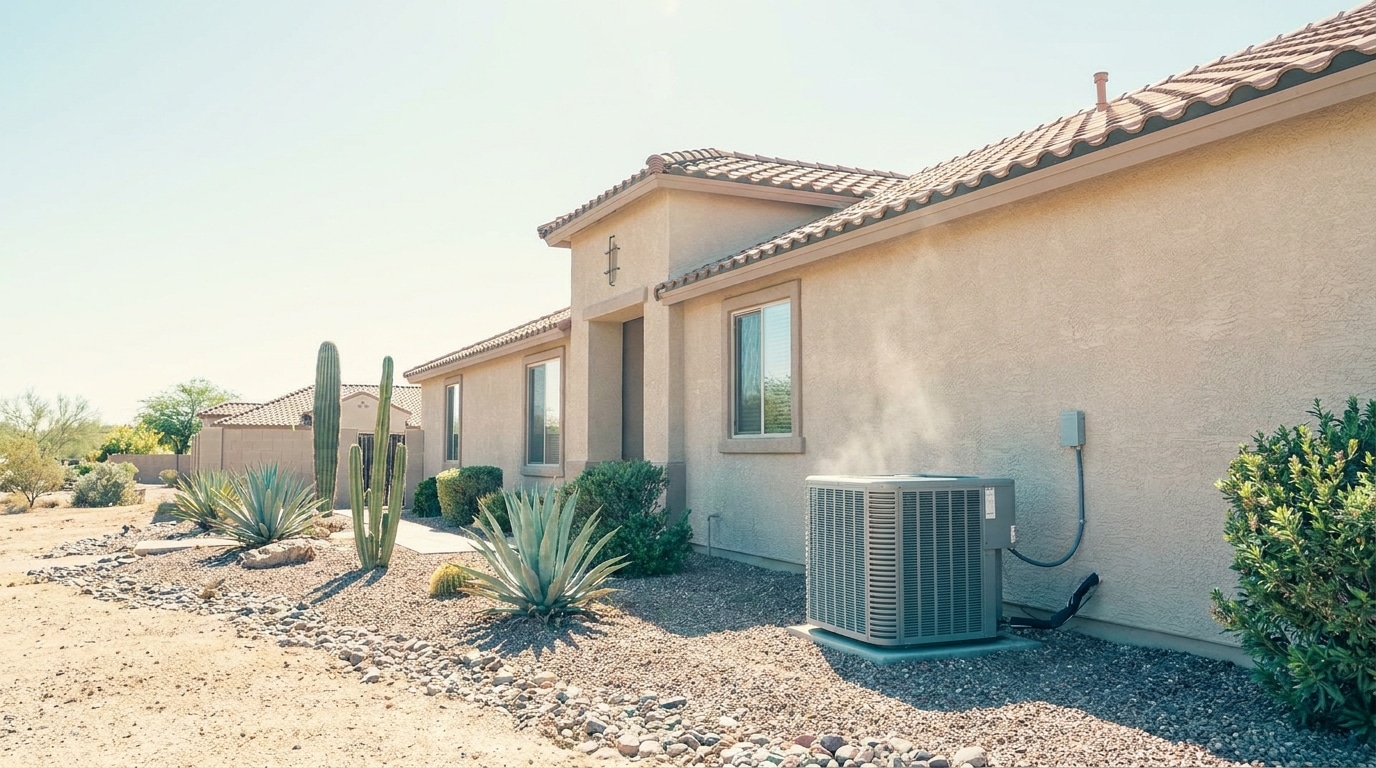
Your outdoor condenser unit (the big metal box with the fan on top) is where your AC releases heat from inside your home. When the aluminum fins and coils get clogged with dust, cottonwood seeds, grass clippings, or leaves, airflow drops and your compressor works harder. A dirty condenser reduces system efficiency by 10–20% and shortens compressor lifespan.
According to ASHRAE’s filtration and disinfection guidance, homeowners should clean condenser coils at least once per year, ideally before peak cooling season. In the East Valley, dust storms and landscape debris make twice-yearly cleaning (spring and mid-summer) a smarter schedule.
Here’s the safe DIY process. First, turn off power to the unit at the outdoor disconnect box (a gray metal box mounted near the condenser) or at your breaker panel. Remove any loose debris (leaves, twigs, mulch) from the area around the unit. Use a garden hose with a spray nozzle to rinse the coils from the inside out. Stand inside the top panel area (after removing the fan grille if accessible) and spray outward through the fins. This pushes dirt out instead of deeper into the coil.
Avoid using a pressure washer. High pressure bends the delicate aluminum fins and reduces airflow permanently. A regular hose with moderate pressure is enough. If the coils are heavily clogged with oily buildup, buy a foaming coil cleaner from a hardware store ($8–12). Spray it on, let it sit for 10 minutes, and rinse thoroughly. Don’t let cleaner dry on the coils.
After cleaning, check the fins for damage. If you see bent or crushed sections, straighten them gently with a fin comb ($5–10 at hardware stores). Bent fins restrict airflow just like dirt buildup. Clear at least two feet of space around the unit. Trim back bushes, move storage items, and remove any objects blocking the fan grille. Your condenser needs unrestricted airflow to operate efficiently.
If you open the unit and see ice on the refrigerant lines, corroded electrical connections, or a non-spinning fan, stop and call a professional. Those are symptoms of deeper problems (refrigerant leaks, capacitor failure, motor burnout) that DIY cleaning won’t fix. Our seasonal guide on The Smart Way to Prep AC for Gilbert’s Hot Summer covers pre-season tasks that prevent mid-summer breakdowns.
Schedule a Professional Tune-Up Before Peak Season
DIY maintenance handles surface-level efficiency, but a professional tune-up catches problems you can’t see or safely fix yourself. A full inspection evaluates refrigerant levels, electrical connections, capacitor health, blower motor condition, drain line flow, and a dozen other failure points. Research from the American Council for an Energy-Efficient Economy (ACEEE) shows that annual professional maintenance extends system lifespan by 40% and prevents 80% of emergency breakdowns.
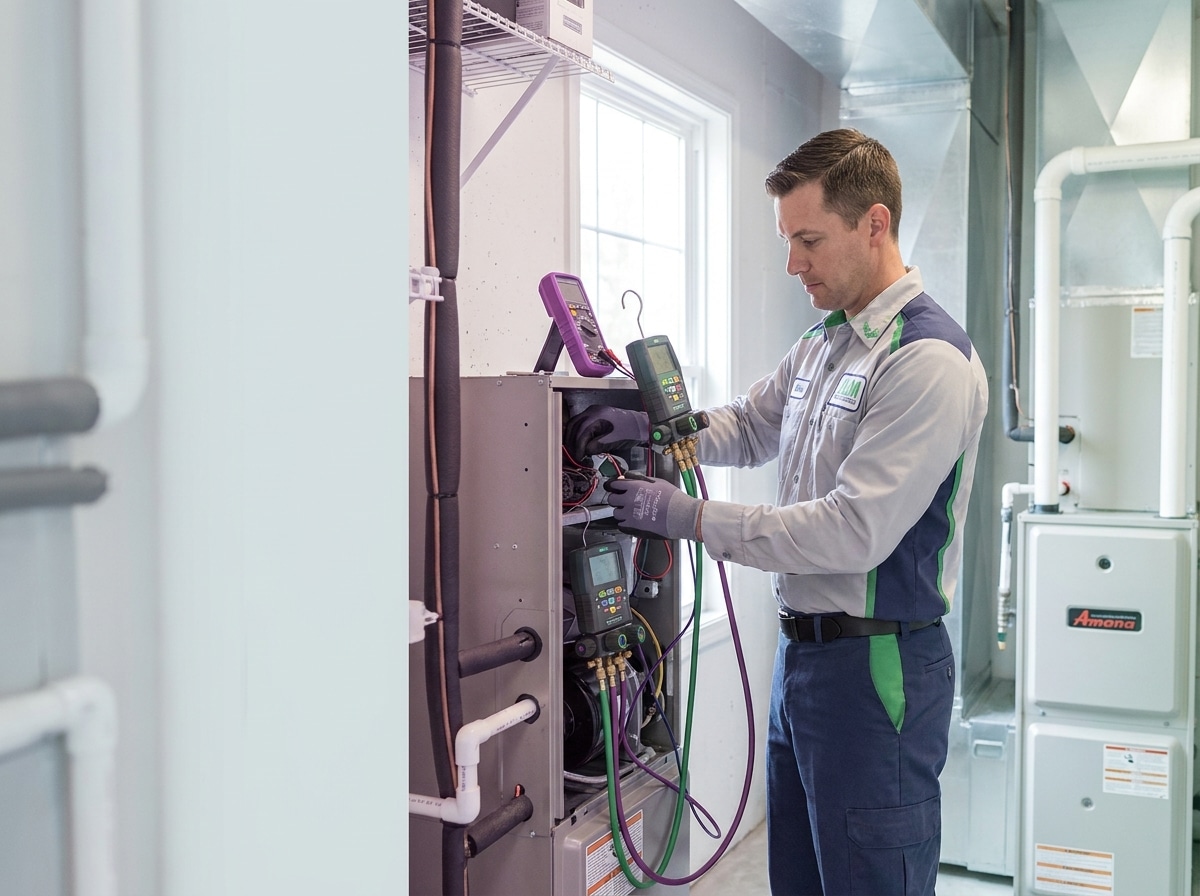
A proper tune-up follows ACCA’s quality installation standards. At JLM, our 50-point checklist includes measuring refrigerant charge with manifold gauges (low charge reduces cooling capacity and efficiency), testing capacitor voltage (weak capacitors cause hard starts and motor strain), inspecting electrical terminals for corrosion, cleaning the evaporator coil inside your air handler, flushing the condensate drain line to prevent clogs, and lubricating blower motor bearings.
Refrigerant issues are the most common hidden efficiency killer. If your system is even 10% low on refrigerant, cooling capacity drops by 20% and your compressor runs hotter, shortening its lifespan. Adding refrigerant isn’t a DIY job. It requires EPA certification, specialized tools, and leak detection to find where the refrigerant escaped. A tune-up catches low charge early, before it causes a $1,200 compressor failure.
Timing matters. Schedule your tune-up in March or April, before the rush. By May, every HVAC company in the East Valley is booked solid with emergency calls. Early-season service means you get convenient appointment times, avoid emergency fees, and have time to fix any problems before 110°F days arrive.
ASHRAE maintenance best practices confirm that preventive care reduces total annual HVAC costs by 30–40% compared to run-to-failure strategies. PowerVac’s guide to ASHRAE/ACCA inspection standards details what defines proper maintenance protocol.
At JLM, our tune-up costs $150–200 (depending on system size and complexity) and includes all parts and labor for minor adjustments. If we find a problem that needs a repair (a failing capacitor, a cracked drain pan, a damaged contactor), we explain what’s wrong, why it matters, and what it costs to fix. You decide whether to proceed. We never upsell unnecessary work, because our referral-based business model depends on trust, not one-time maximization.
When Efficiency Fixes Aren’t Enough: Spotting System Failure
Sometimes the problem isn’t maintenance. Sometimes your AC is genuinely failing, and throwing money at tune-ups and filter changes won’t help. Knowing when your system is beyond repair saves you from wasting money on fixes that buy you only a few more months.
Here are the red flags that signal replacement, not repair. First, age. In Arizona’s extreme heat, residential AC systems last 10–12 years on average (versus 15–20 years in milder climates). If your system is 12+ years old and requires a major repair (compressor replacement, evaporator coil replacement, full refrigerant recharge), replacement usually makes more financial sense. The repair might cost $1,500–2,500, but a new system will run 30–40% more efficiently and come with a 10-year warranty.
Second, constant cycling. If your AC turns on and off every 5–10 minutes (short-cycling), the compressor or thermostat is failing. Short-cycling wastes energy, prevents proper dehumidification, and accelerates wear on electrical components. The underlying cause is often a failing compressor or oversized system. Both require replacement or major modification.
Third, refrigerant leaks. If a technician tells you the system needs refrigerant every year, you have a leak. Small leaks in accessible line sets can be repaired for $300–500. Leaks in the evaporator coil (inside the air handler) or condenser coil (outdoor unit) usually cost $1,200–1,800 to fix, because the coil itself must be replaced. On a system older than 10 years, replacement beats repair.
Fourth, rising repair costs. If you’ve spent $800+ on repairs in the past two years and the system still isn’t reliable, you’re chasing failure. Use the 50% rule: if a single repair costs more than 50% of replacement cost, replace instead. A new 3-ton system costs $4,500–6,500 installed. A $2,500 compressor replacement on a 10-year-old system is bad math.
Fifth, uneven cooling or weak airflow that doesn’t improve after duct sealing and filter changes. This indicates an undersized system, a failing blower motor, or ductwork design problems. All three require professional evaluation. If your system has always struggled to cool your home (not just this year), the problem is sizing or design, not maintenance.
For homes that need supplemental cooling or zoned solutions, explore options like Mini Split Installation in Gilbert AZ. For smaller spaces that struggle with climate control, our guide on Garage AC Options That Don’t Overwhelm Small Spaces covers alternative cooling strategies.
For urgent issues during peak heat, our guide on Do You Really Need Professional AC Repair in Mesa? helps you triage problems and decide when to call immediately versus when you can wait.
If you’re facing a replacement decision, we walk you through efficiency ratings (SEER), sizing calculations, and brand options (we install Amana systems, which offer strong warranties and proven performance in Arizona heat). Our pricing is transparent and competitive. We never pressure you into a larger system than you need or add-ons that don’t deliver value.
How JLM Helps You Save Without Selling You What You Don’t Need
Most HVAC companies make more money on new installs than on service calls, so their incentive is to sell you a new system even when a $200 repair would solve the problem. JLM is different. We’re a family-owned business built on referrals and repeat customers. Our long-term revenue depends on trust, not one-time upsells. When we inspect your system, we tell you what’s fixable, what’s optional, and what genuinely needs replacement.
Bill, our owner, has completed more than 3,000 installs and service calls across Gilbert, Queen Creek, Apache Junction, and the East Valley. He’s on the job personally for complex repairs and every installation. You’re not dealing with a rotating crew of subcontractors or a call center routing you to the cheapest available tech. You get an experienced professional who lives in your community and stakes his reputation on every job.
In our work with East Valley homeowners, we consistently see that a seasonal tune-up before summer pays for itself in energy savings within 60–90 days and prevents emergency repair bills that average $400–600 during peak heat. The customers who follow our maintenance recommendations (monthly filter changes, annual professional tune-ups, duct sealing) spend 30–40% less on total HVAC costs over a five-year period than customers who wait for breakdowns.
When you call JLM, here’s what happens. We schedule a service visit at a time that works for you (same-day availability for emergencies, flexible scheduling for routine maintenance). We arrive on time in a clearly marked vehicle. We evaluate your system, explain what we find in plain language, and provide written estimates for any recommended work. If a repair is optional (an efficiency upgrade that saves money long-term but isn’t urgent), we tell you. If something is critical (a safety issue or imminent failure), we explain why and what happens if you delay.
Our pricing is transparent. No hidden fees, no surprise charges after the work is done. Our A+ BBB rating reflects thousands of honest interactions with customers who appreciate straightforward communication and quality work. We use professional-grade tools and materials, follow manufacturer specifications, and guarantee our work. If something goes wrong after we leave, we come back and fix it at no charge.
For customers who want ongoing protection, our maintenance plans include priority scheduling, discounted service rates, and annual tune-ups that keep your system running efficiently year after year. We track service history, remind you when it’s time for seasonal maintenance, and catch small problems before they become expensive failures.
We also understand budget constraints. If you need a repair but can’t pay upfront, we offer financing options through third-party lenders (subject to credit approval). If replacement is the best option but the timing is bad, we’ll help you limp through one more summer with short-term fixes while you save for a new system. We’re not here to create financial stress. We’re here to protect your comfort and help you make smart decisions about your home.
For additional tips and seasonal advice, visit our Blog where we share HVAC insights tailored to East Valley conditions. To explore the full range of services and equipment options we offer, check out our HVAC System resource center.

Summer Cooling Checklist: Your 30-Day Action Plan
Here’s your step-by-step roadmap to cut energy waste and lower your bill before peak summer heat arrives. Print this list, check off each task, and you’ll be set.
- Replace your air filter today. Buy a six-pack of MERV 8–11 filters in the correct size. Set a monthly reminder on your phone for the first of every month through September.
- Inspect your outdoor condenser unit. Clear debris, trim back vegetation, and hose down the coils. Check for bent fins and straighten them with a fin comb.
- Check your thermostat settings. If you’re still using a basic dial model, upgrade to a programmable or smart thermostat. Program setback schedules (raise temp 5–7°F when away).
- Look for duct leaks in your attic. Inspect visible ductwork for gaps, tears, or disconnected sections. Seal small leaks with foil-backed HVAC tape. Call a pro for extensive damage.
- Schedule a professional tune-up. Book your appointment in March or April, before the rush. Confirm the service includes refrigerant check, electrical testing, coil cleaning, and drain line flush.
- Test your AC now, not in June. Run it for 30 minutes on a warm day. Listen for unusual sounds (grinding, squealing, hissing). Check that all vents blow cold air evenly. If something seems off, call for service before peak season.
- Seal air leaks around windows and doors. Caulk gaps and replace worn weatherstripping. Every cubic foot of hot outdoor air that sneaks in forces your AC to work harder.
- Close blinds and curtains during peak sun. West-facing windows can add 10–15°F of solar heat gain between 3 p.m. and 7 p.m. Blackout shades or reflective film reduce the load.
- Use ceiling fans to boost comfort. A fan lets you raise your thermostat 2–3°F without sacrificing comfort, because the air movement makes 80°F feel like 77°F. Run fans counterclockwise in summer.
- Track your energy usage. Check your monthly kWh consumption on your utility bill. If usage spikes without an obvious cause (no new appliances, no schedule change), investigate efficiency problems.
Follow this checklist, and you’ll save $50–100 per month on cooling costs. That’s $300–600 over a single summer, enough to cover a tune-up, new filters, and still pocket savings. For localized service across the region, learn more about our HVAC Services in the East Valley, AZ.
For ongoing peace of mind, explore our full Air Conditioning Maintenance plans and seasonal service offerings in the Air Conditioning section of our site. If you’re considering proactive spring scheduling, our post on Is Spring Too Early to Plan for Arizona AC Tune-Up? addresses common timing questions.
Conclusion
Your summer cooling bill doesn’t have to drain your budget. Most energy waste comes from fixable problems: clogged filters, dirty coils, duct leaks, poor thermostat settings. Handle the DIY tasks (filters, debris removal, basic cleaning), invest in one professional tune-up per year, and your system will run 15–20% more efficiently. That efficiency translates directly to lower bills, better comfort, and fewer emergency breakdowns during 110°F heat.
At JLM Air Conditioning & Heating, we help East Valley homeowners cut waste and avoid unnecessary expenses. We tell you what’s fixable, what’s optional, and what genuinely needs replacement. No upsells, no pressure, no surprises. Just honest guidance from a family-owned business that lives and works in your community.
Don’t wait until your AC dies in peak summer heat. Schedule your pre-season tune-up today. We’ll give you an honest assessment of what’s working, what’s wasting energy, and what you can fix right now to save money and stay comfortable all summer long.